


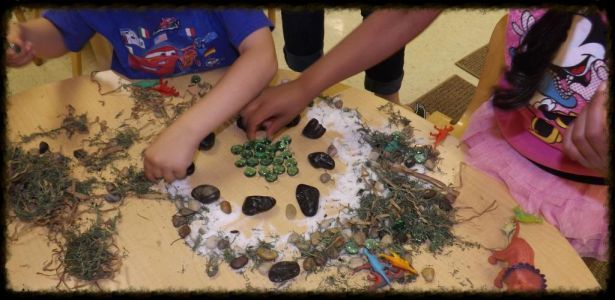
 Materials Needed from the dollar store: Storage bin, fake moss, brown box/basket paper shred, different sized rocks, colored rocks, sand.
 Instructions: Dump materials on table, watch kids have a blast. My kids seemed to really enjoy this table. They made up stories about the dinosaurs, decided the green rocks were either treasure or dinosaur eggs, and made a meeting place for all the elder dinosaurs. Clean up is easy, just sweep it all back into the bin and bring out another day!


